
This guide walks you through the process of creating a calendar table and importing data into the table from a csv file. You can find the relevant csv file attached
1. The First step is to create a calendar table, you can do this by Right Clicking Data in the project explorer window and selecting Add->New Table. Then name your calendar table:
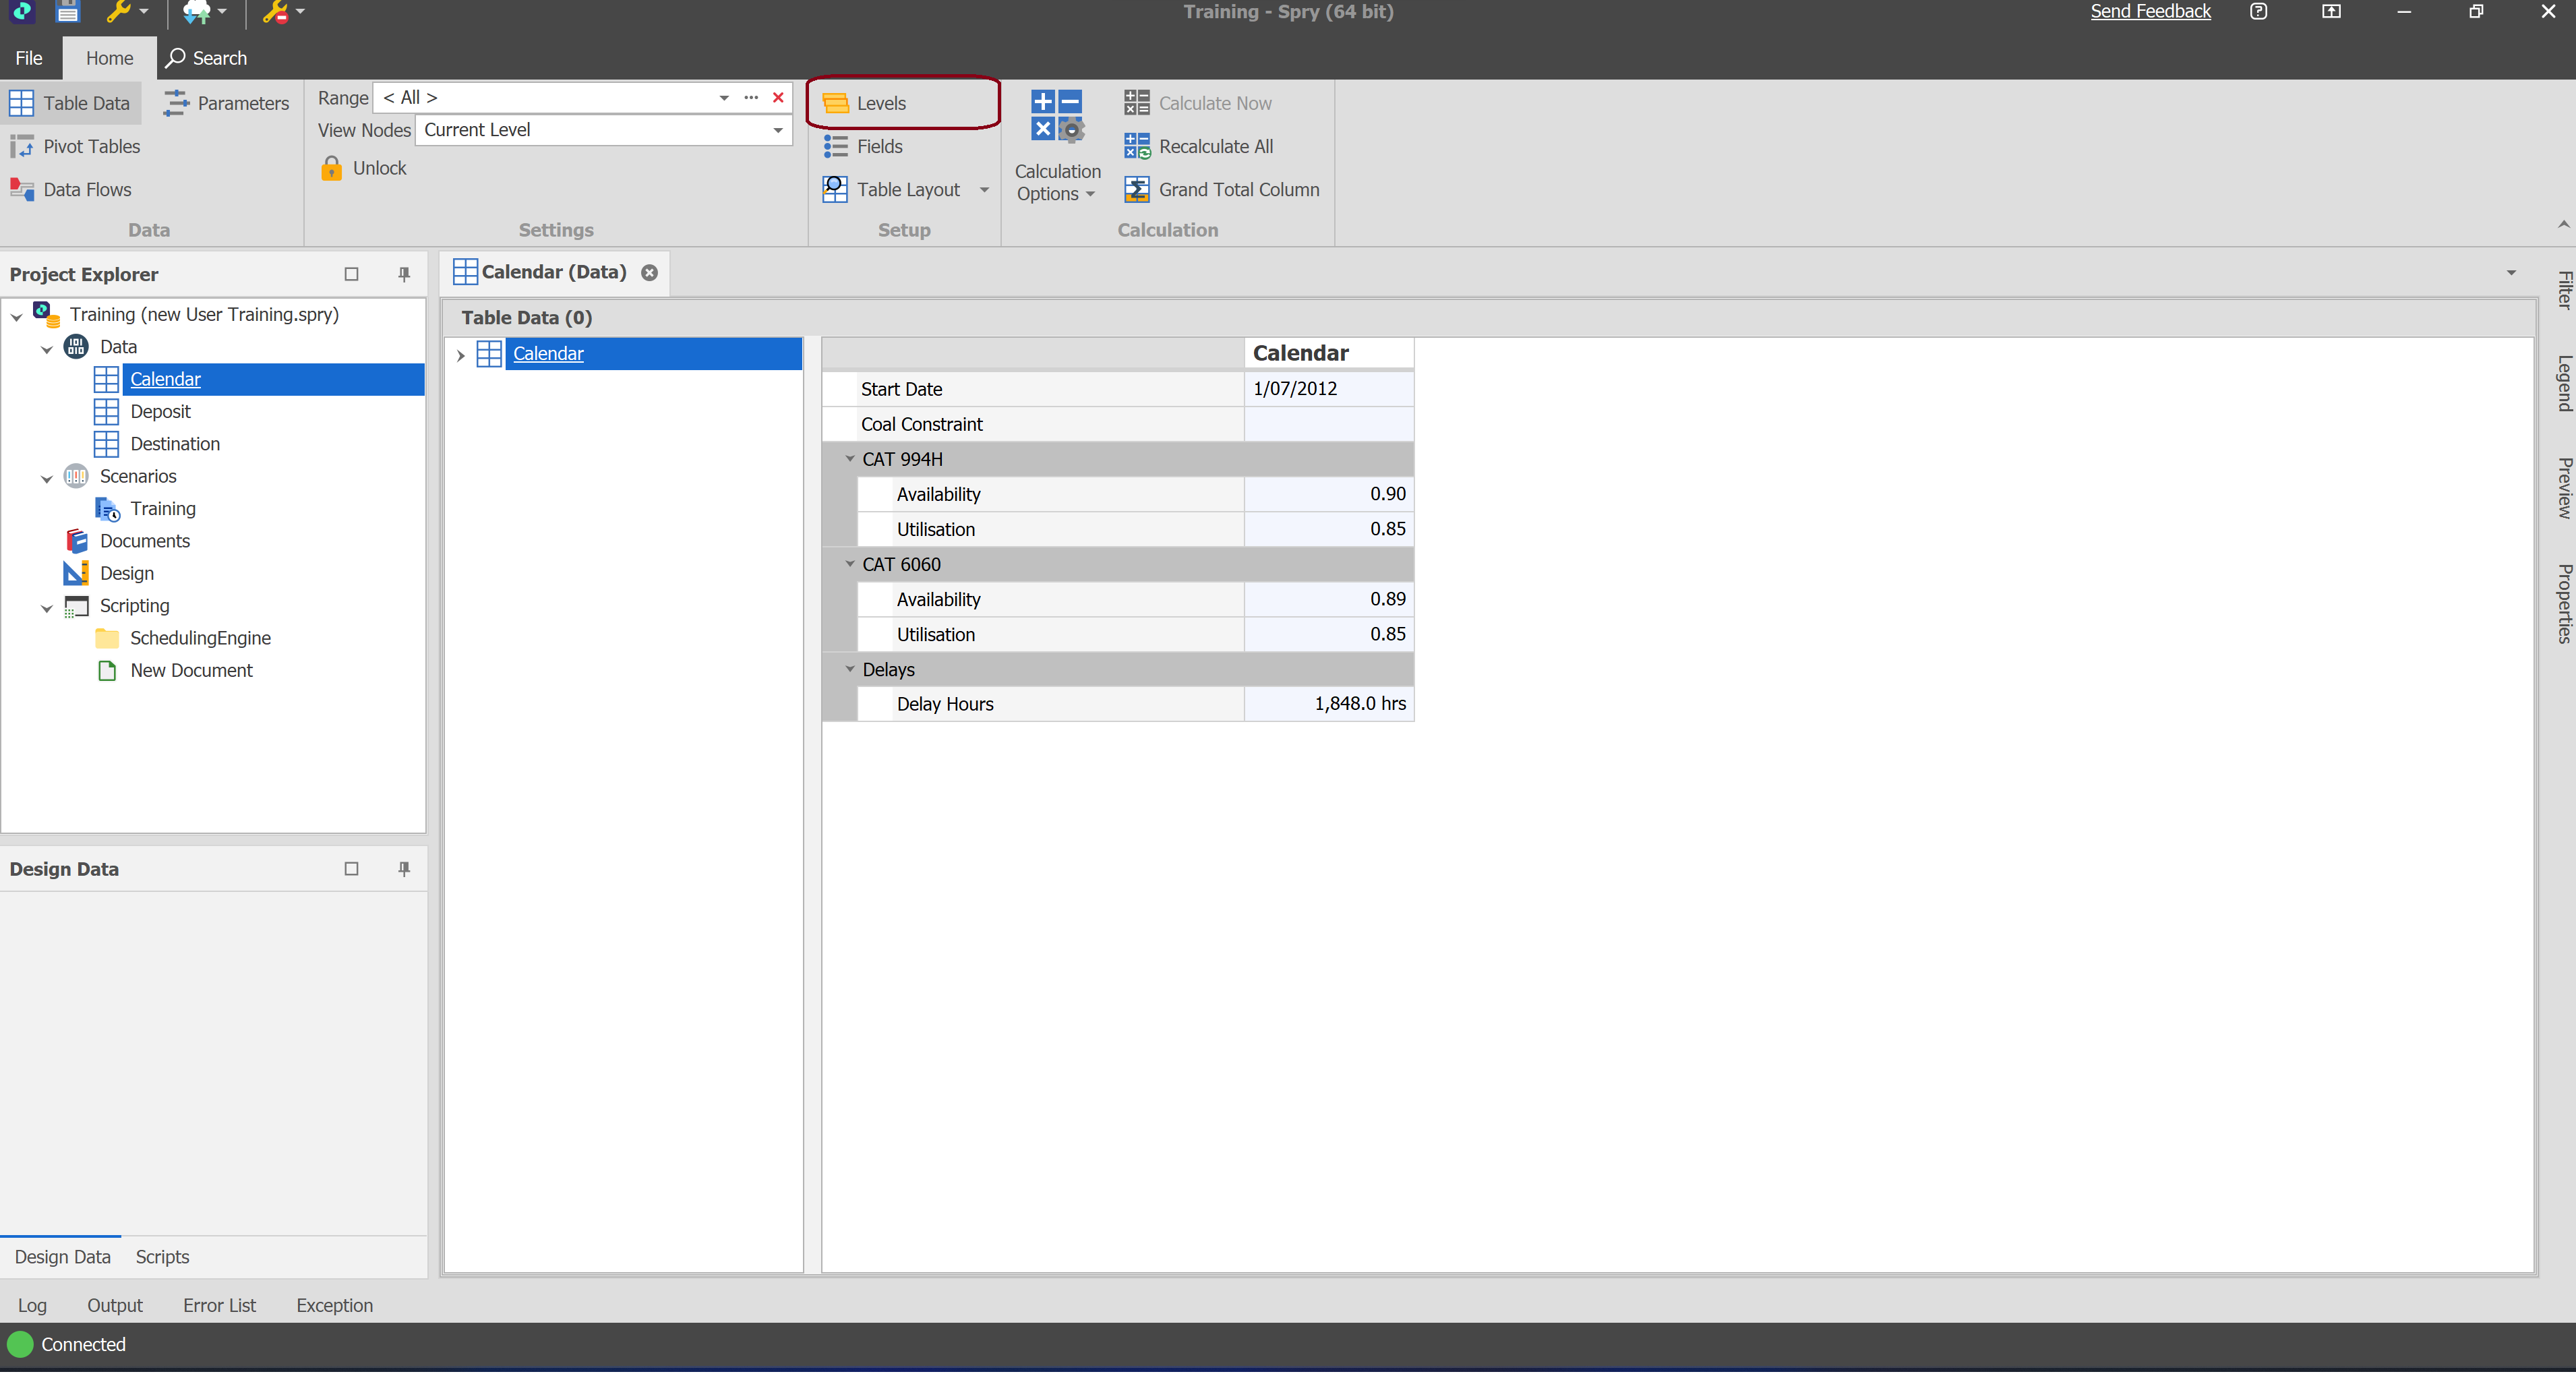
2. Once you have created the table the next step is to setup the Levels. We can see by opening the csv file that this basic table has a Year and Month Field. With your table selected, navigate to the Levels section from the top ribbon:
3. In the Position Editor, we are just adding 2 levels (Year and Month). Click on the green plus icon to add levels and rename them:

4. Once you have created the levels close out of this section. Don't worry about creating the positions yet as spry will automatically create these when importing in our data. Next we have to create our fields by selecting the Fields option from the top ribbon, the csv files contains the below fields. When adding fields remember to maintain the column name in the csv file by creating appropriate folders and putting the appropriate fields into them so that spry can automatically map them to the correct fields/columns:

3. In the Position Editor, we are just adding 2 levels (Year and Month). Click on the green plus icon to add levels and rename them:
4. Once you have created the levels close out of this section. Don't worry about creating the positions yet as spry will automatically create these when importing in our data. Next we have to create our fields by selecting the Fields option from the top ribbon, the csv files contains the below fields. When adding fields remember to maintain the column name in the csv file by creating appropriate folders and putting the appropriate fields into them so that spry can automatically map them to the correct fields/columns:
To create a folder/field, Right Click Calendar in the Fields window and select Add. Select the appropriate option for the type of field, or folder to place a field into:

5. Once these fields are created, click apply and close. You then need to import the data from the csv into our table. Right click the Calendar table from the Project Explorer window and select Import-> Data. You can also import by having the calendar table open and clicking on the cloud icon on the top left of the spry window and selecting Import->Data. Find your Calendar file and select it:
6. In the Data Import window, click next till you get to the mapping section. Make sure the csv columns are mapped to the correct spry fields. If the fields and folders were placed correctly spry should automatically map them (provided there are no spelling errors). If not you can manually map them to the right fields by clicking into the Import type and Value cells:

7. When you click next, you should begin the Import process, you should get a warning prompt asking you if you want to create new positions as they are being imported in. Click on 'Create Position' and tick 'Remember this choice' and hit Accept. Once done you should get a summary of everything created and another warning saying to check the order of the positions. To Re-Order the positions go back to the Levels section and select the 'Re-Order Positions' icon on the Right side:
8. Once your data is imported and in order, you still have to link the calendar table to the scenario. Jump into your scenario settings and adjust the following settings to link to the calendar table and start date field:
Note: If you are editing an existing calendar table it is recommend making the adjustments in the base csv file and then re-importing the data back into the calendar table.
Want to learn more?
Online Help Manuals - Click here for the latest version
Learning Management System - Click here to login or here to request access
Comments
0 comments
Please sign in to leave a comment.